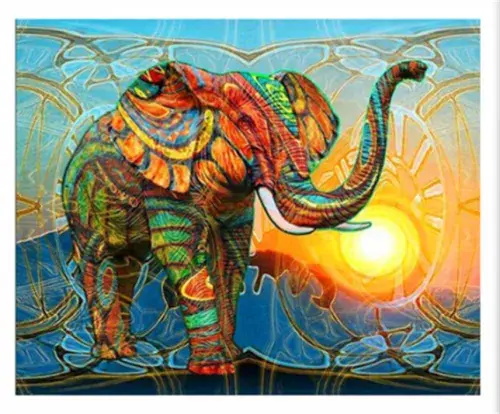
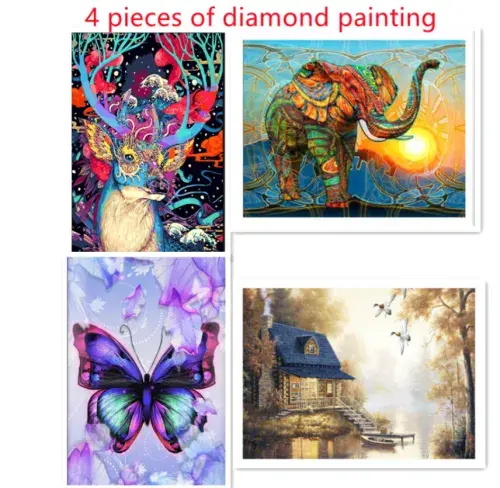
The following is the production process of DIY Diamond Painting:
1. Gather materials: diamond painting diamonds, diamond painting tools (diamond pen, tray, glue), pattern template, backing board, frame, etc.
2. Place the pattern template onto the diamond painting board and secure it with some translucent tape.
3. Open the diamond painting tools kit and choose a diamond pen. Insert it into its base.
4. Gently spread a layer of glue onto the first small grid on the diamond painting board.
5. Pour some diamonds from the diamond package into the tray.
6. Use the diamond pen to pick up one diamond from the tray.
7. Flip the diamond onto the glue-coated surface of the board and press it down gently with the diamond pen to ensure it sticks firmly.
8. Repeat steps 6 and 7 to fill in all the corresponding grids with diamonds according to the pattern template.
9. After all the grids are filled with diamonds, secure the board onto the backing board with some tape.
10. Choose a frame to border the diamond painting, if desired.
11. Congratulations! Your DIY diamond painting is now complete.